ADB Terminal
ADB is the abbreviation for Android Debug Bridge, a set of command-line tools used for communication between a host computer and a device. Through ADB, users can view device connection status, enter the device Shell, transfer files, restart the device, and execute debugging commands on the computer side.
On the Quectel Pi M1 / L1 Debian system, ADB is primarily used for local debugging and quick file transfers during the development phase. After connecting the computer to the development board via a USB Type-C cable, you can use commands such as adb devices, adb shell, adb push, adb pull to manage the device.
💡 Note: The
adb shellon L1 defaults to therootuser, which can be used directly to view system status, start services, and modify configurations. When executing high-privilege commands, you typically do not need to addsudo.
Preparation
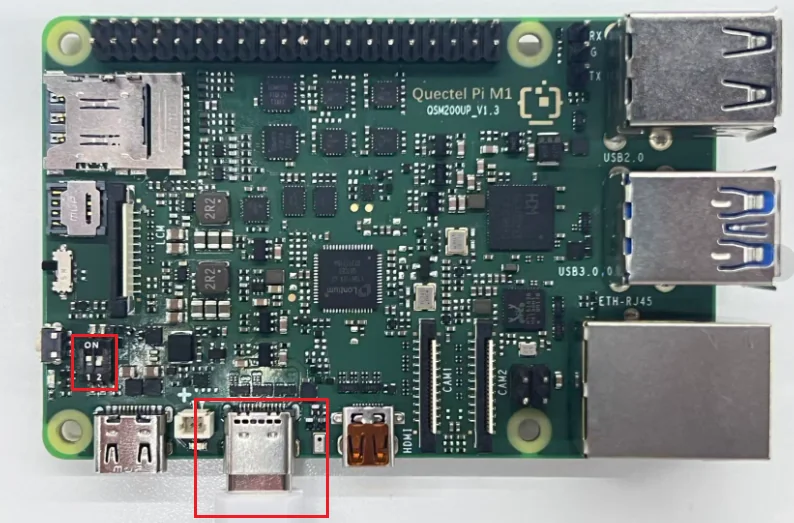
Prepare a USB to Type-C cable, connect the Type-C end to the USB-C port of the Quectel Pi M1 / L1, and connect the other end to the host computer.
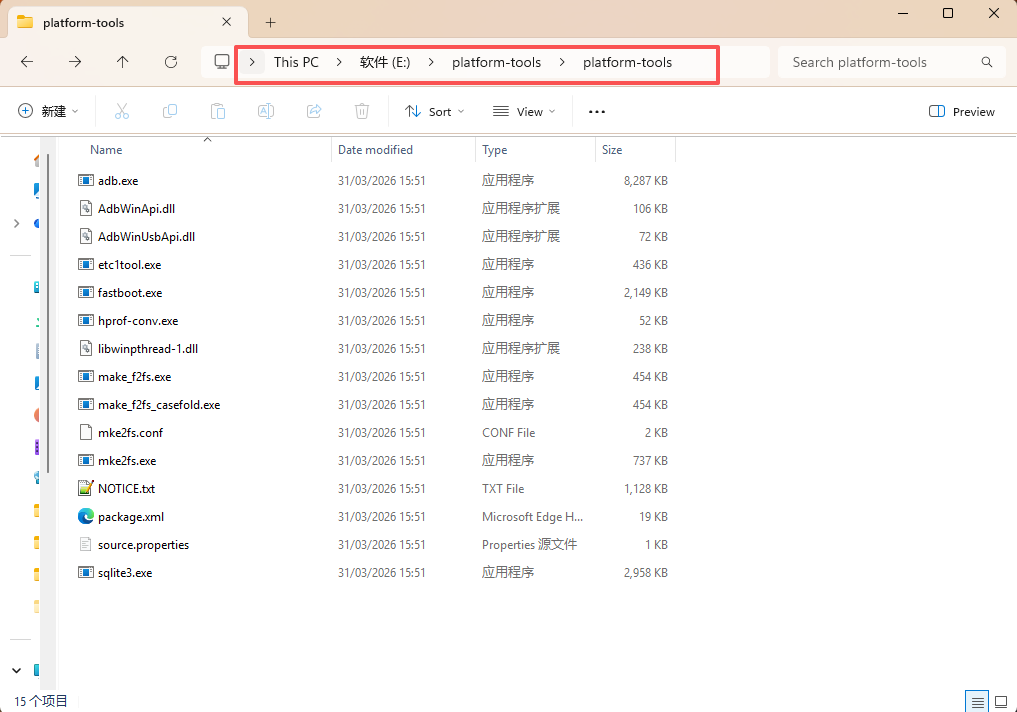
On the computer side, download the platform-tools tool and extract it to a local directory.
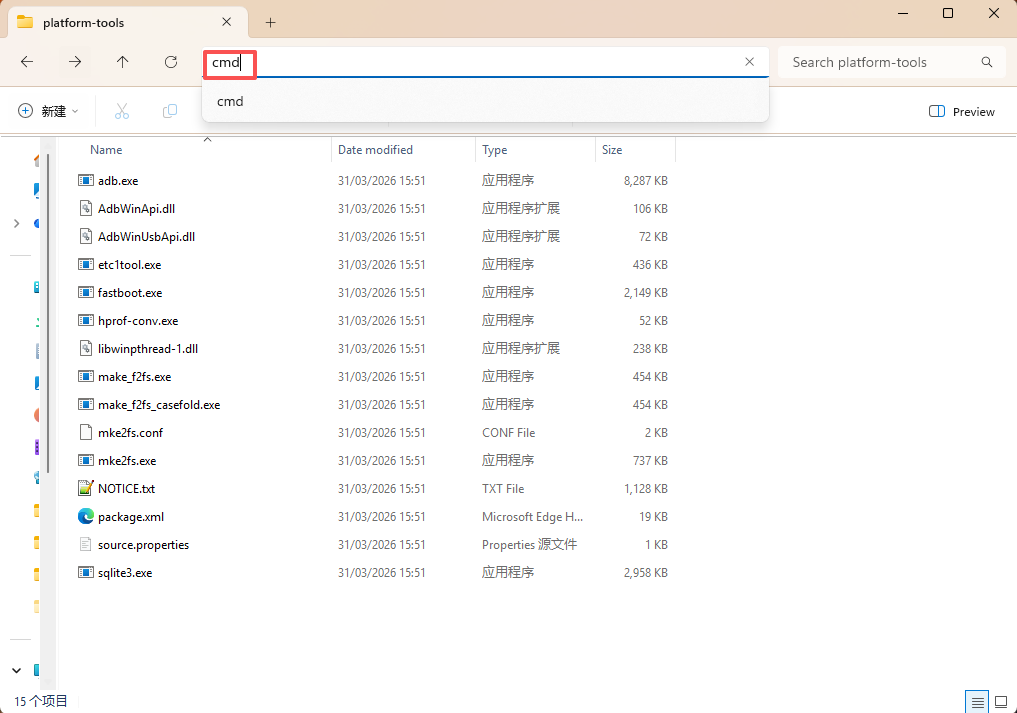
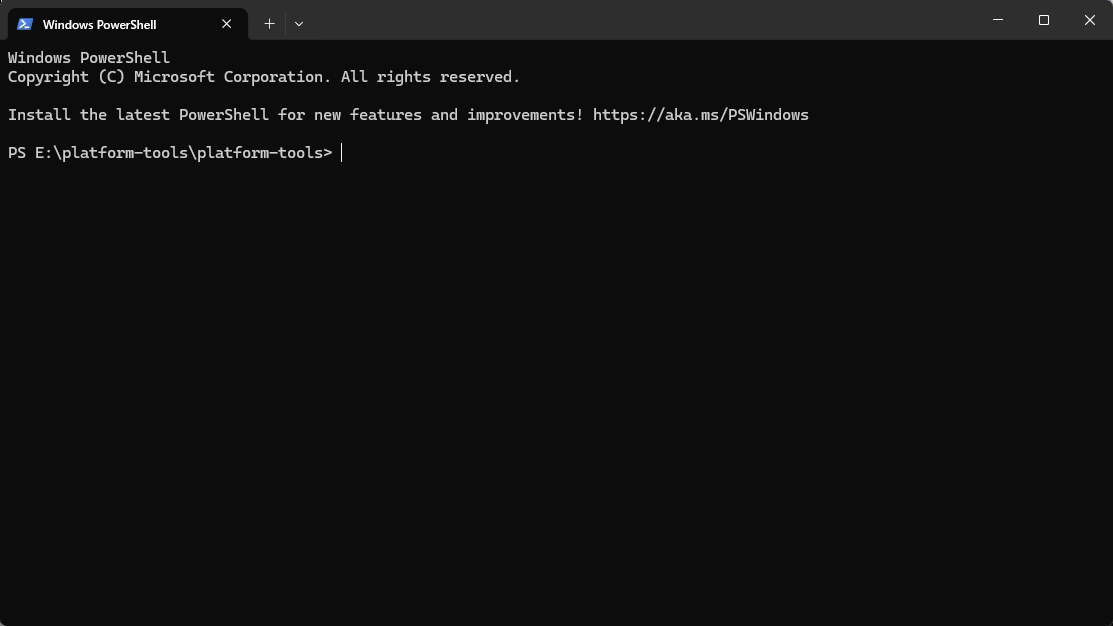
Open the folder where the platform-tools tool is located, type cmd in the address bar at the top, and press Enter to open the ADB terminal.
Software Installation
The host computer needs to have platform-tools installed or extracted, which includes the adb command.
The Quectel Pi L1 / M1 Debian system already has the ADB service integrated, with the service name adbd.service and the program path /sbin/adbd. Typically, no additional software packages need to be installed.
You can check the ADB service status on the development board:
systemctl status adbd.service --no-pager -l
Software Configuration
The ADB service is managed by adbd.service. Common configuration and management methods are as follows:
Configuration Item |
Description |
|---|---|
Service Name |
|
Dependent Service |
|
Connection Method |
USB Type-C cable connecting the host computer and the development board |
Typical Use Cases |
Shell debugging, file transfer, device status viewing |
To restrict ADB usage, you can stop or disable the ADB service. It is recommended to restart the system after disabling to keep the state consistent:
sudo systemctl stop adbd.service
sudo systemctl disable adbd.service
sudo reboot
To re-enable the ADB service, execute:
sudo systemctl start adbd.service
sudo systemctl enable adbd.service
sudo reboot
Software Startup
Start the ADB service:
sudo systemctl start adbd.service
Enable auto-start on boot:
sudo systemctl enable adbd.service
Check current status:
systemctl status adbd.service --no-pager -l
systemctl is-active adbd.service
Restart the service:
sudo systemctl restart adbd.service
ADB Debugging
View Connected Devices
Execute in the ADB terminal on the host computer:
adb devices
If a device serial number appears in the list with the status device, it means the computer has recognized the development board.
Enter Device Shell
Execute on the host computer:
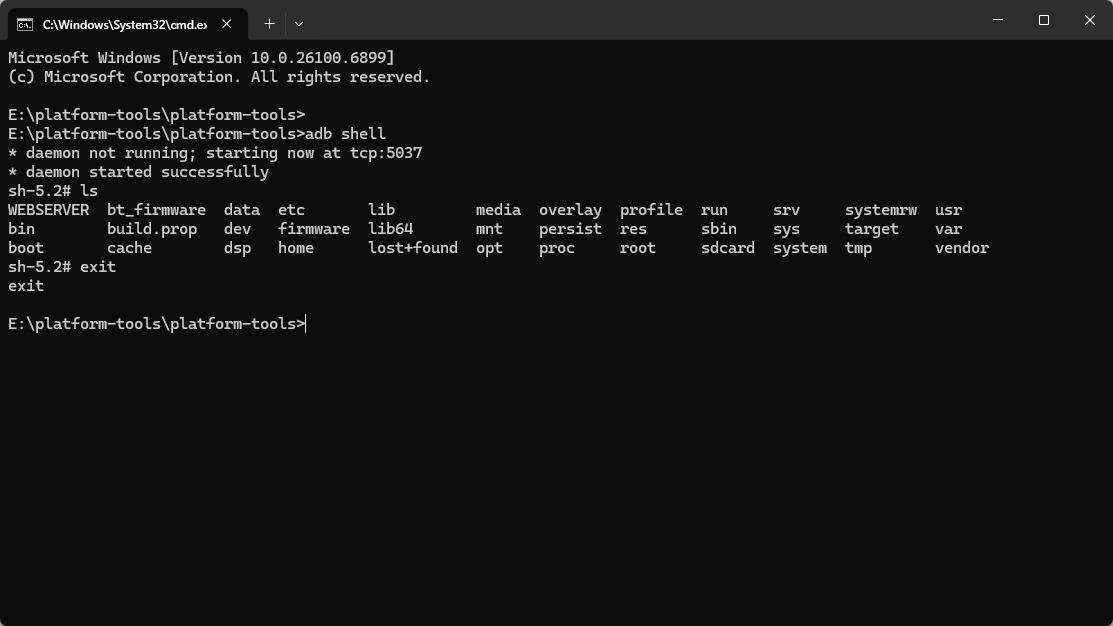
adb shell
After entering the Shell, you can execute common Linux commands in the development board system. The L1 ADB Shell defaults to the root user. You can confirm this by executing:
id
whoami
To exit the Shell, enter:
exit
Transfer Files from Computer to Device
# Usage: adb push <computer file path> <device destination path>
adb push ./test.txt /data/local/tmp/
Transfer Files from Device to Computer
# Usage: adb pull <device file path> <computer destination path>
adb pull /data/local/tmp/test.txt ./
Where ./ indicates saving to the directory where the ADB terminal is currently open.
Restart the Device
adb reboot
Troubleshooting
Symptom |
Troubleshooting Method |
|---|---|
|
Check if the USB cable supports data transfer; confirm the cable is connected to the USB-C port of the L1 / M1; re-plug and execute |
Device status is |
Execute |
No |
Confirm that platform-tools has been extracted, open the terminal in that directory, or add platform-tools to the system environment variables. |
Service not running on the development board |
Execute |
File transfer failed |
Check if the target path exists and has write permissions. It is recommended to use the |