Micro HDMI
This document describes how to connect, identify, configure display settings, use touch functionality, and play audio/video via the Micro HDMI display interface under the Quectel Pi M1 / L1 Debian system. This document uses an external Micro HDMI display as an example.
Overview
Micro HDMI is a commonly used audio/video output interface suitable for scenarios such as desktop display, media playback, debugging operations, industrial dashboards, and human-machine interaction terminals. The Quectel Pi M1 / L1 provides 1 Micro HDMI 2.0 port, which can be connected to an Micro HDMI monitor to enter the Debian desktop environment. The M1 defaults to the GNOME desktop, and the L1 defaults to the Weston desktop.
The display-related interfaces of the Quectel Pi M1 / L1 are shown in the table below:
Interface |
Description |
|---|---|
Micro HDMI |
1 Micro HDMI port, Micro HDMI 2.0. The display mode is negotiated jointly by the system, the monitor EDID, and the cable. |
Touch |
If the Micro HDMI screen supports touch functionality, an additional USB touch cable is typically required. |
Hardware Interface
Micro HDMI Screen Connection
Connect the Micro HDMI display to the development board’s Micro HDMI port, and ensure the display is powered on properly and the Micro HDMI cable is firmly connected.
M1 / L1 Micro HDMI screen connection diagram:
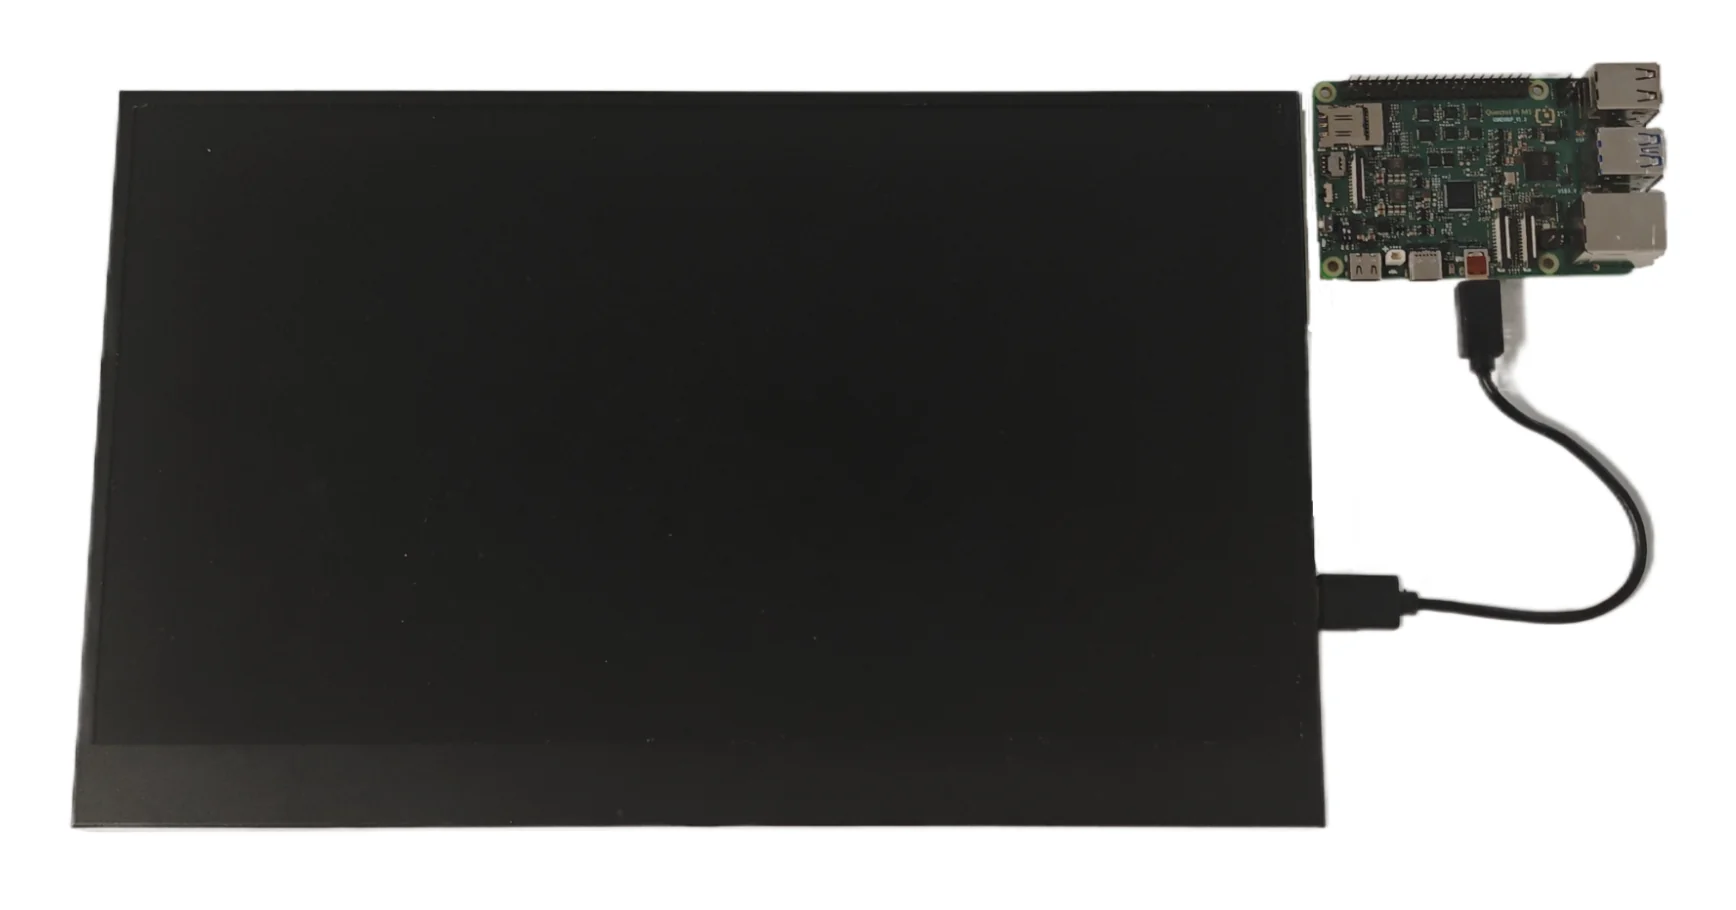
Connection notes:
Before connecting the Micro HDMI display, it is recommended to turn off the development board’s power first.
Ensure the Micro HDMI cable is oriented correctly to avoid stressing the connector.
Make sure the monitor has been switched to the corresponding Micro HDMI input source.
If using an Micro HDMI screen with touch functionality, you must also connect the screen’s USB touch cable.
Touch Connection
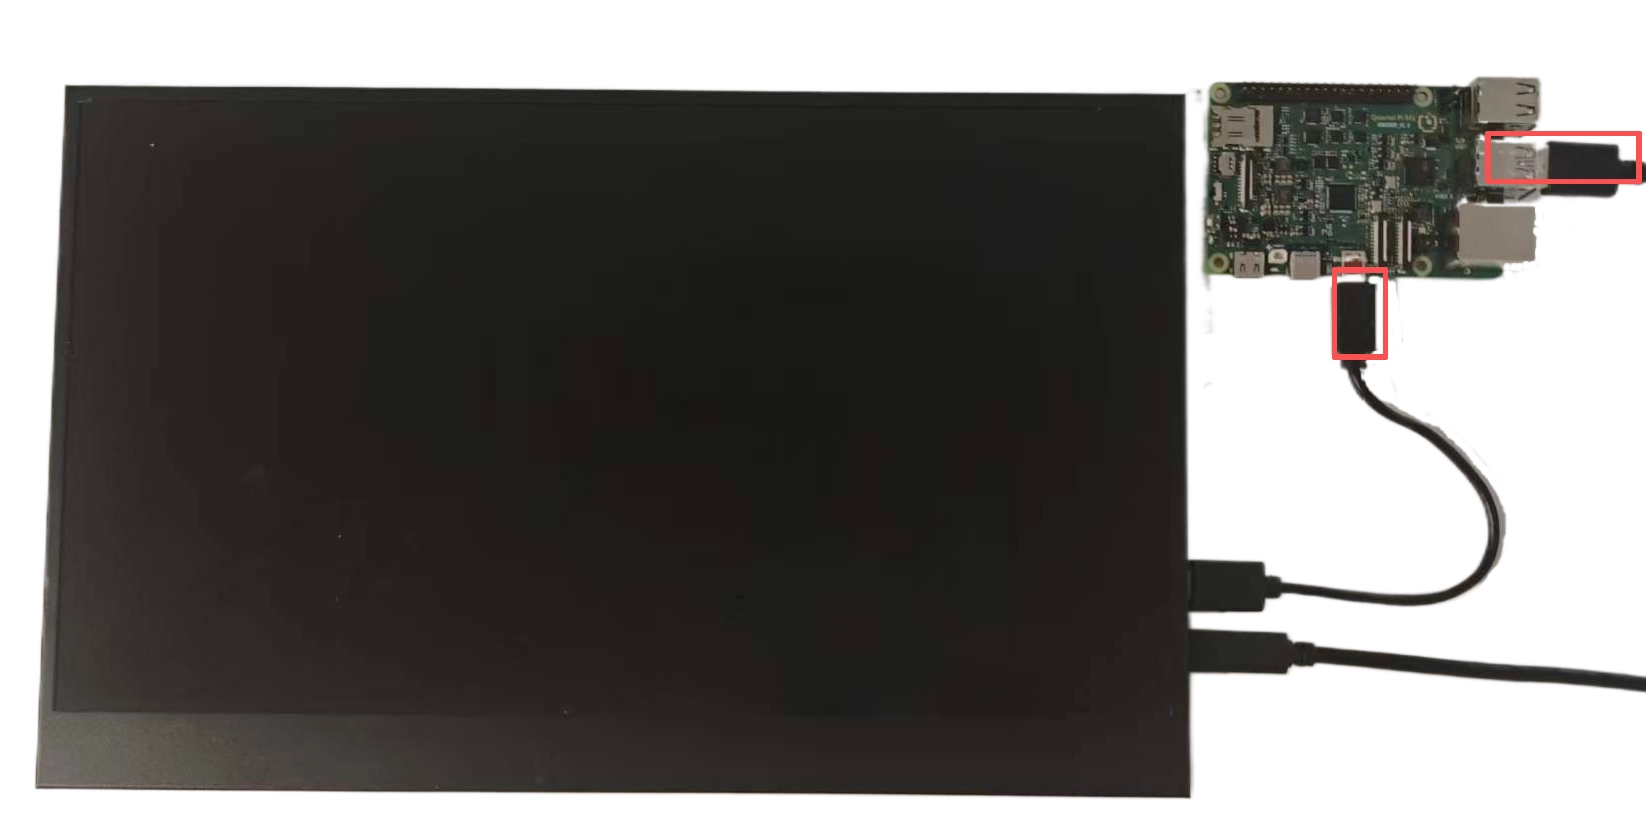
If the Micro HDMI screen supports touch functionality, connect the screen’s USB touch interface to the development board’s USB Host port. Once the system recognizes the touch device, you can directly tap, drag, and manage windows on the Debian desktop.
M1 / L1 Micro HDMI touch connection diagram:
Quick Start
Turn off the development board’s power.
Connect the Micro HDMI cable to the development board and the Micro HDMI display.
Turn on the Micro HDMI display power, and select the corresponding Micro HDMI input source.
Power on the development board.
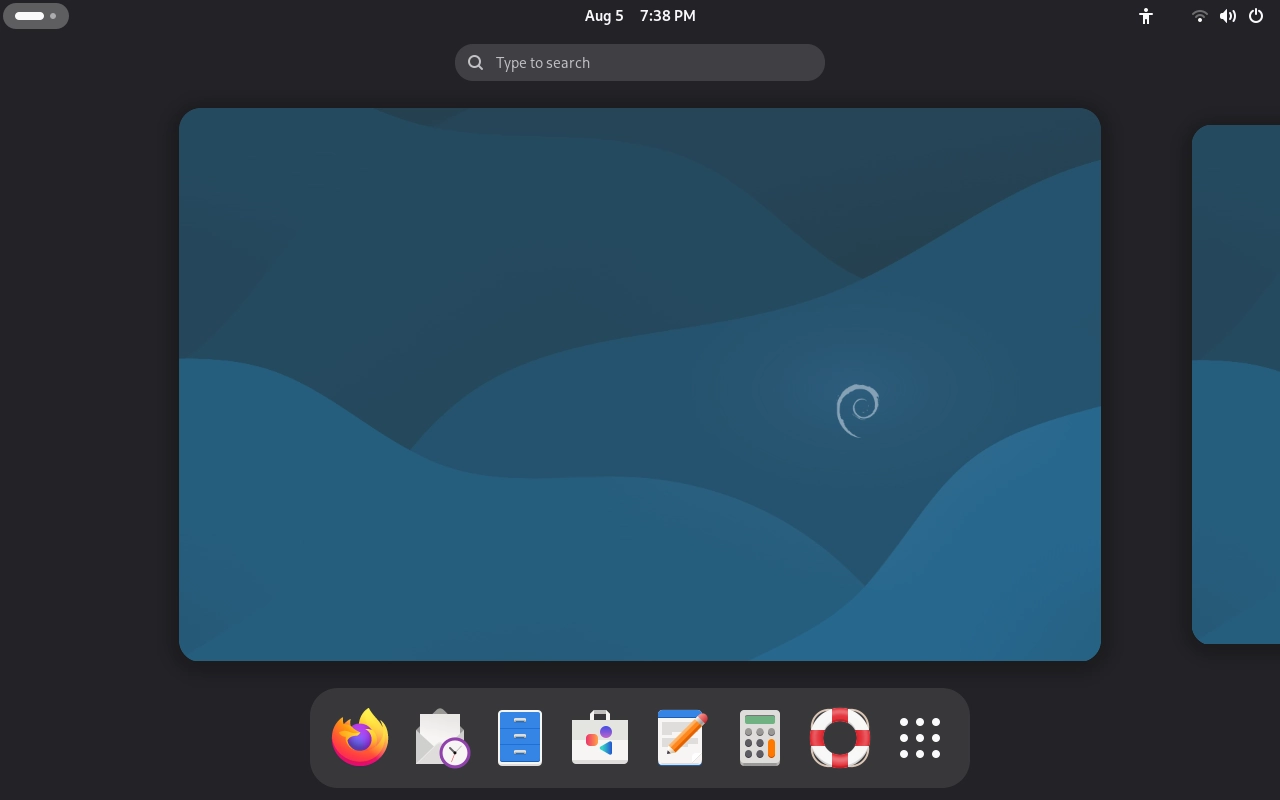
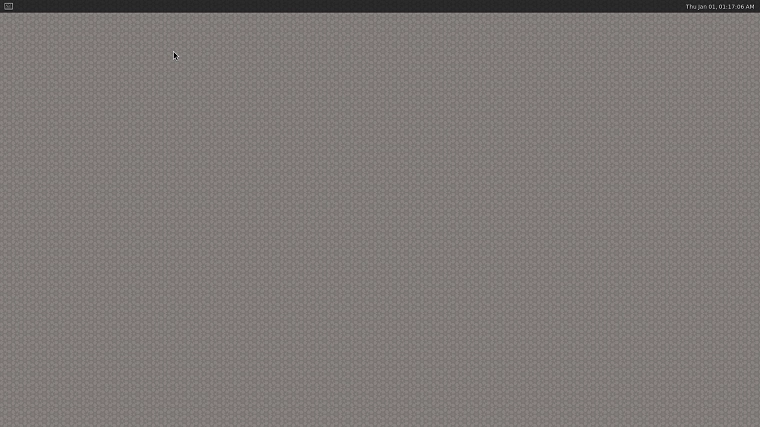
After the system boots, it will enter the Debian desktop. The M1 enters the GNOME desktop, and the L1 enters the Weston desktop.
To check the system status, run the following in the development board terminal:
hostname -I
cat /sys/class/drm/card0-Micro HDMI-A-1/status
cat /sys/class/drm/card0-Micro HDMI-A-1/modes
M1 Micro HDMI desktop display:
L1 Micro HDMI desktop display:
Feature Usage (GNOME)
The following features are based on the M1 GNOME desktop environment.
Touch Functionality
After connecting the Micro HDMI screen’s USB touch cable, you can directly use touch functionality on the Debian desktop. If touch does not respond, first check whether the USB touch cable is connected to a USB Host port, and after re-plugging, check whether the system has recognized the input device:
lsusb
cat /proc/bus/input/devices
How to Use Video Playback
You can first push a test video to the Videos directory on the development board:
adb push /home/q/work/temp/test-1.mp4 /home/q/Videos/m1-Micro HDMI-display-test.mp4
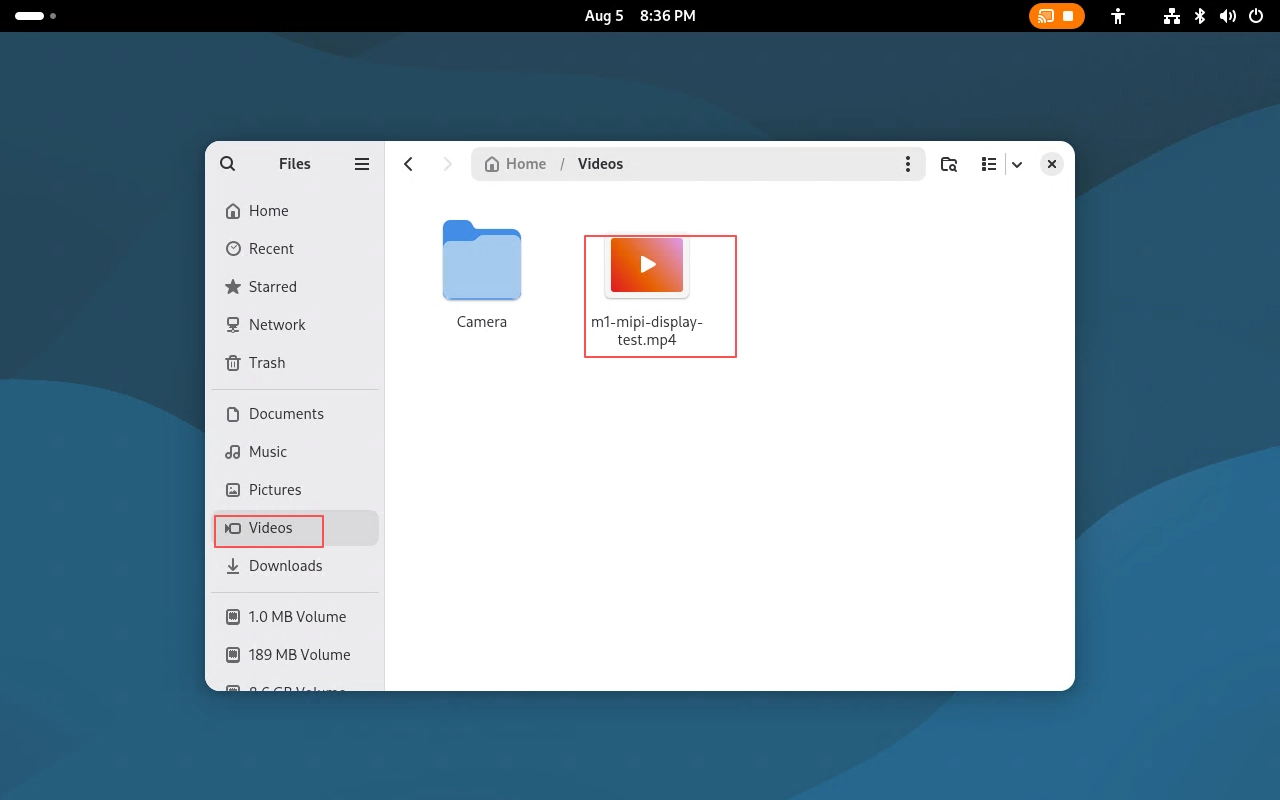
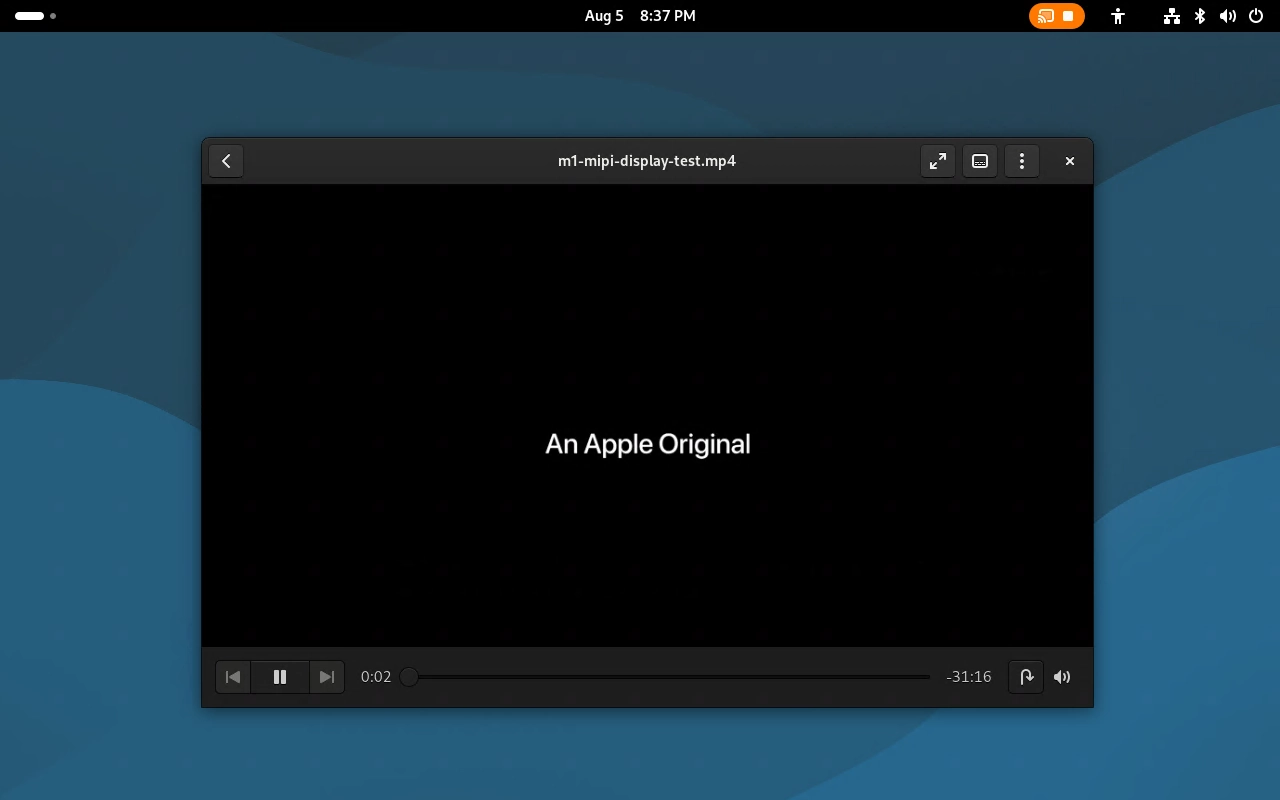
Graphical video playback: On the Debian desktop, you can navigate to the Videos directory via the file manager and double-click m1-Micro HDMI-display-test.mp4 to play it.
GStreamer command-line video playback: To play video from the command line, enter the following command.
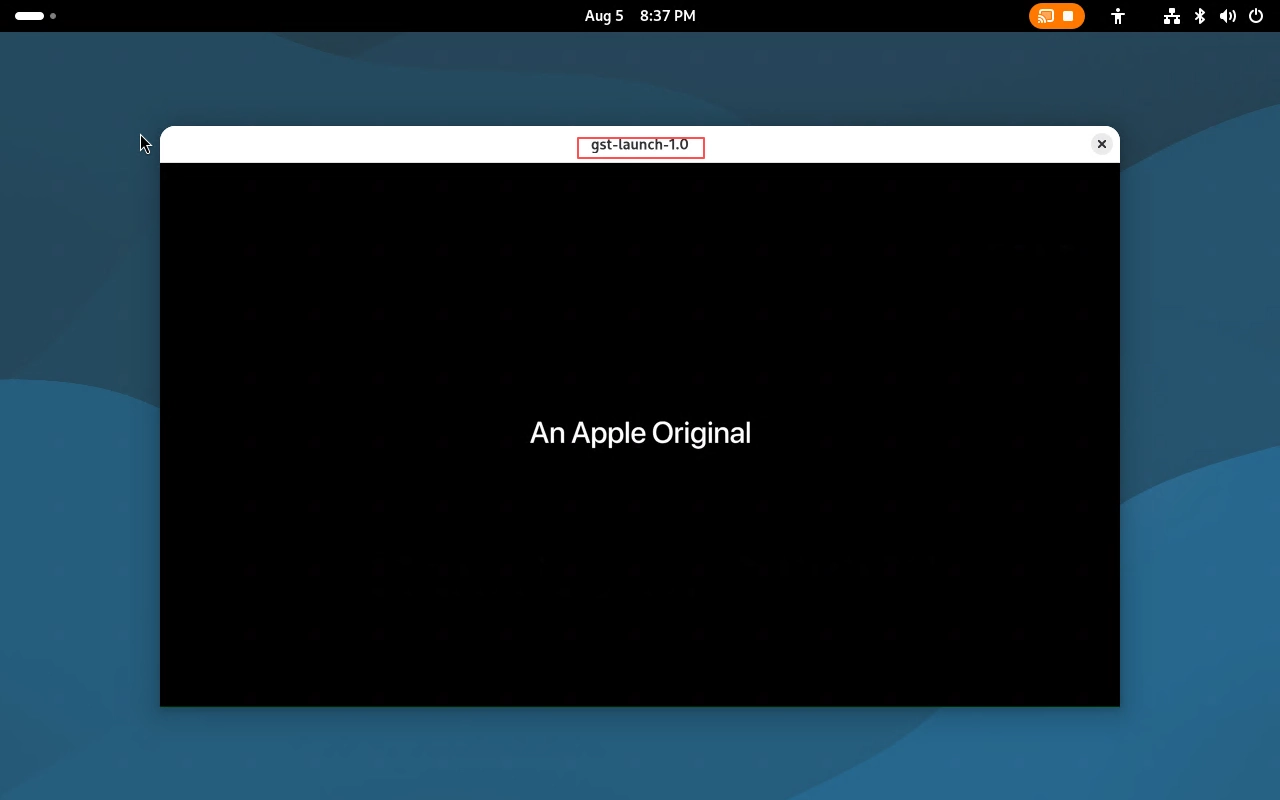
gst-launch-1.0 playbin uri=file:///home/q/Videos/m1-Micro HDMI-display-test.mp4
Below is a screenshot of playing video via the GStreamer command line.
How to Use Audio Playback
You can first push a test audio file to the Music directory on the development board:
adb push /home/q/work/temp/test.mp3 /home/q/Music/m1-Micro HDMI-audio-test.mp3
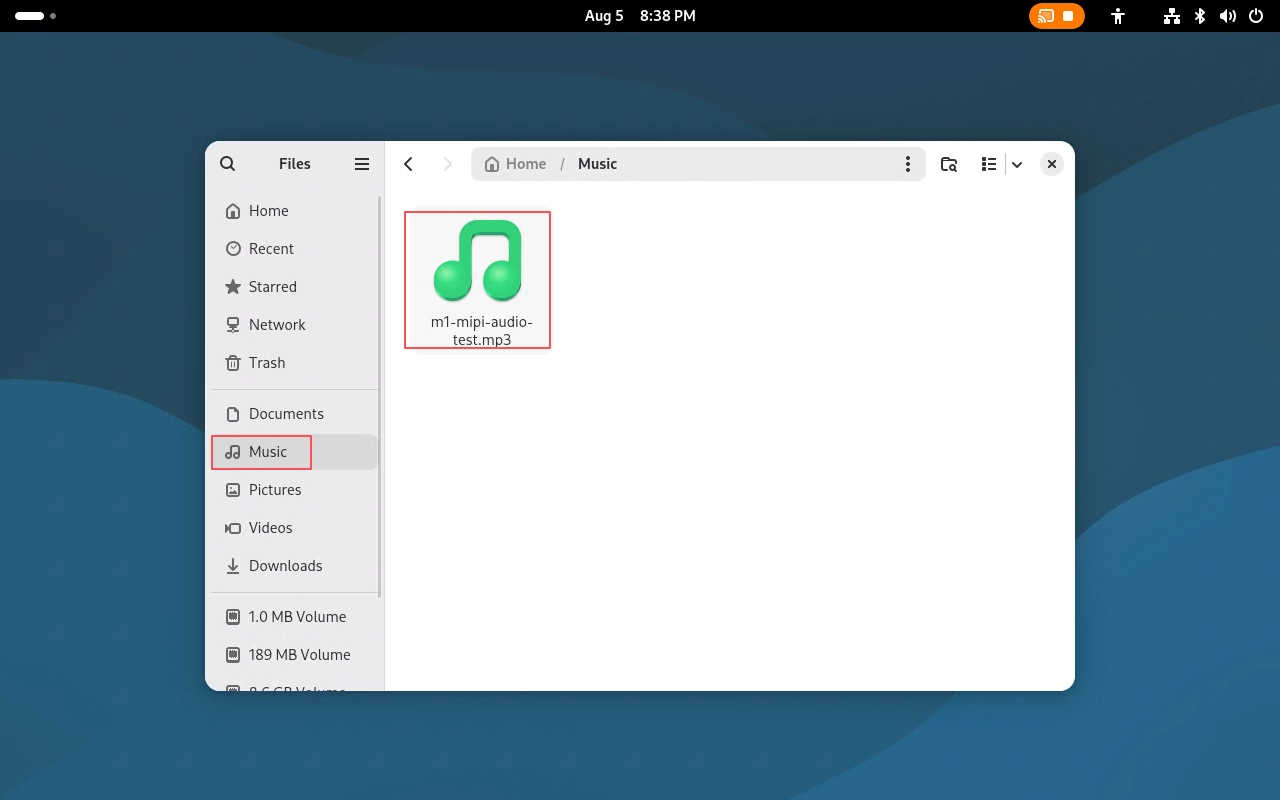
Graphical audio playback: On the Debian desktop, you can navigate to the Music directory via the file manager and double-click m1-Micro HDMI-audio-test.mp3 to play it.
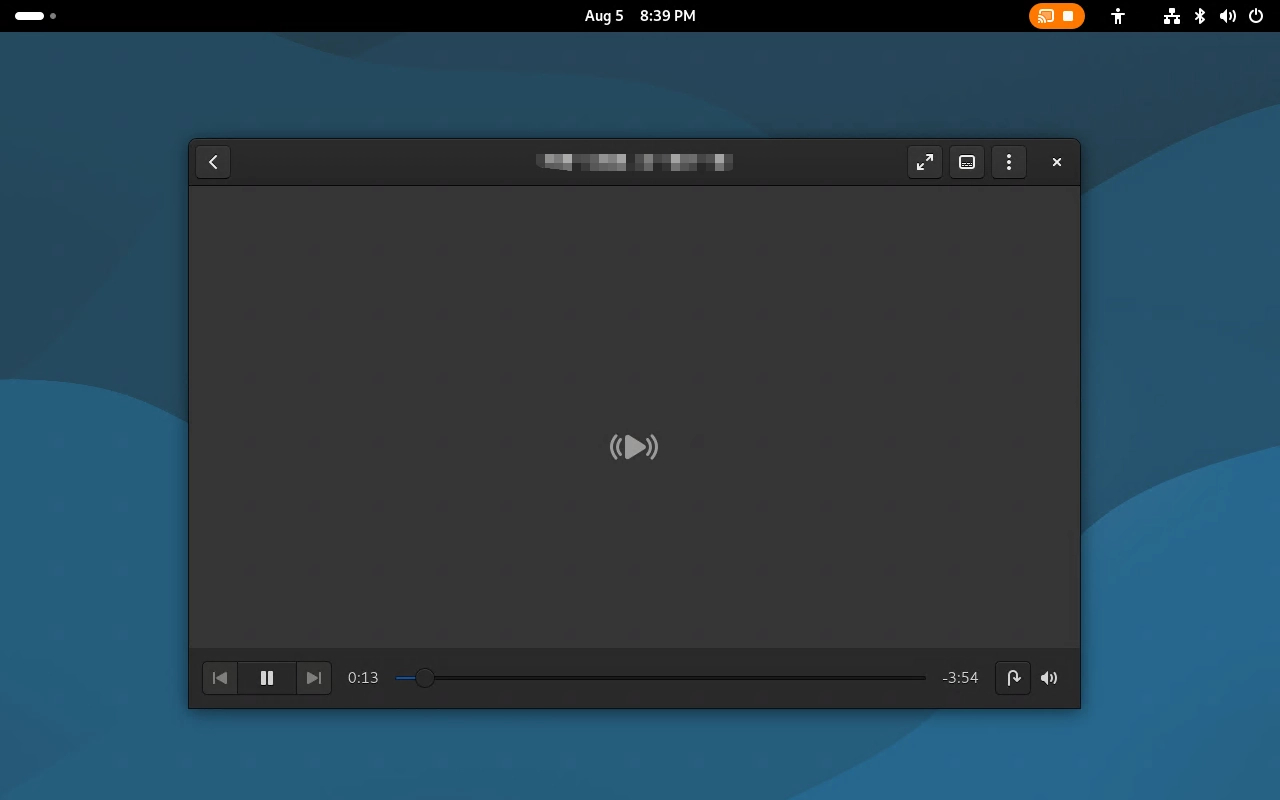
GStreamer command-line audio playback: To play audio from the command line, enter the following command.
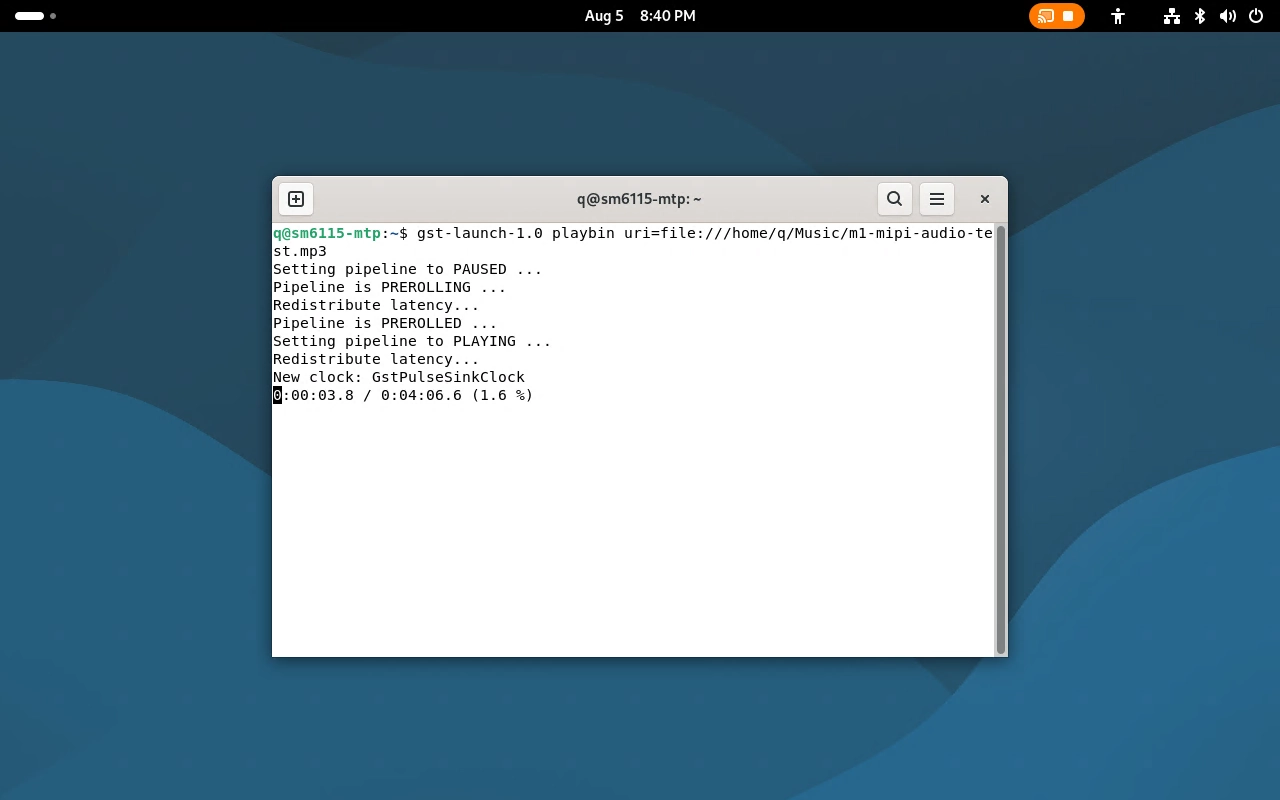
gst-launch-1.0 playbin uri=file:///home/q/Music/m1-Micro HDMI-audio-test.mp3
Below is a screenshot of playing audio via the GStreamer command line.
Audio Output Check
If Micro HDMI video plays normally but there is no sound, first check the audio service and default output device:
pactl info
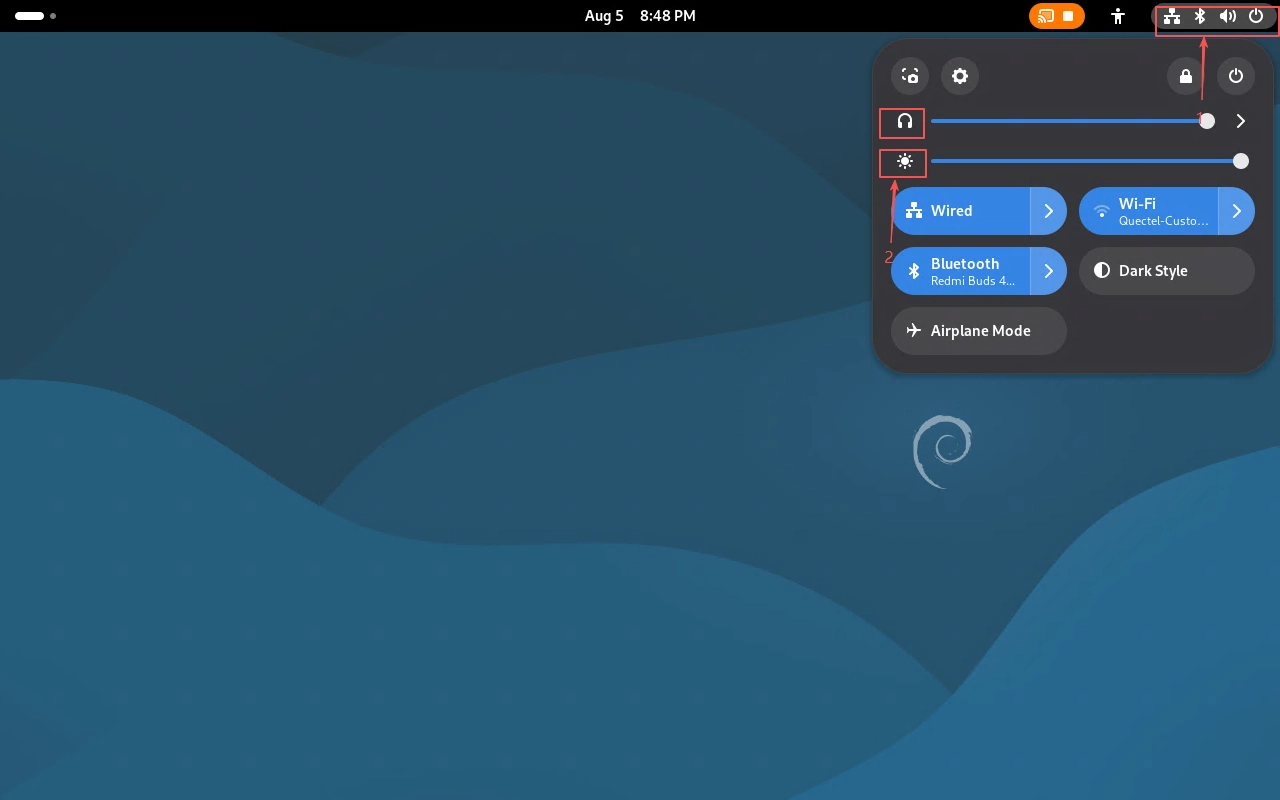
If there are multiple audio output devices in the system, you can switch output devices in the quick settings panel at the top-right corner of the GNOME desktop, or go to Settings > Sound to view the audio output configuration.
Feature Usage (Weston)
The following features are based on the L1 Weston desktop environment.
Touch Functionality
After connecting the Micro HDMI screen’s USB touch cable, you can directly use touch functionality on the Debian desktop. If touch does not respond, first check whether the USB touch cable is connected to a USB Host port, and after re-plugging, check whether the system has recognized the input device:
lsusb
cat /proc/bus/input/devices
How to Use Video Playback
You can first push a test video to the Videos directory on the development board:
adb push /home/q/work/temp/test-1.mp4 /home/q/Videos/l1-Micro HDMI-display-test.mp4
GStreamer command-line video playback: To play video from the command line, enter the following command.
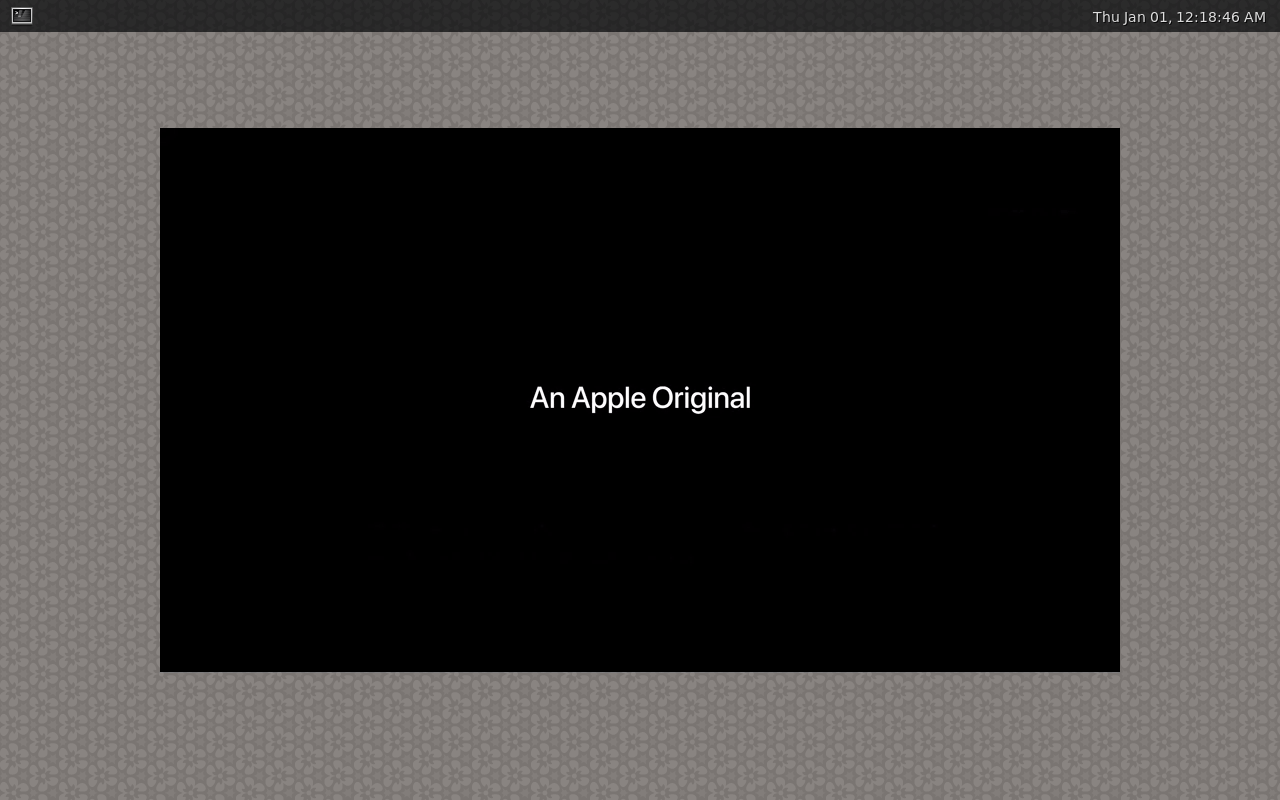
gst-launch-1.0 playbin uri=file:///home/q/Videos/l1-Micro HDMI-display-test.mp4
Below is a screenshot of playing video via the GStreamer command line.
How to Use Audio Playback
You can first push a test audio file to the Music directory on the development board:
adb push /home/q/work/temp/test.mp3 /home/q/Music/l1-Micro HDMI-audio-test.mp3
GStreamer command-line audio playback: To play audio from the command line, enter the following command.
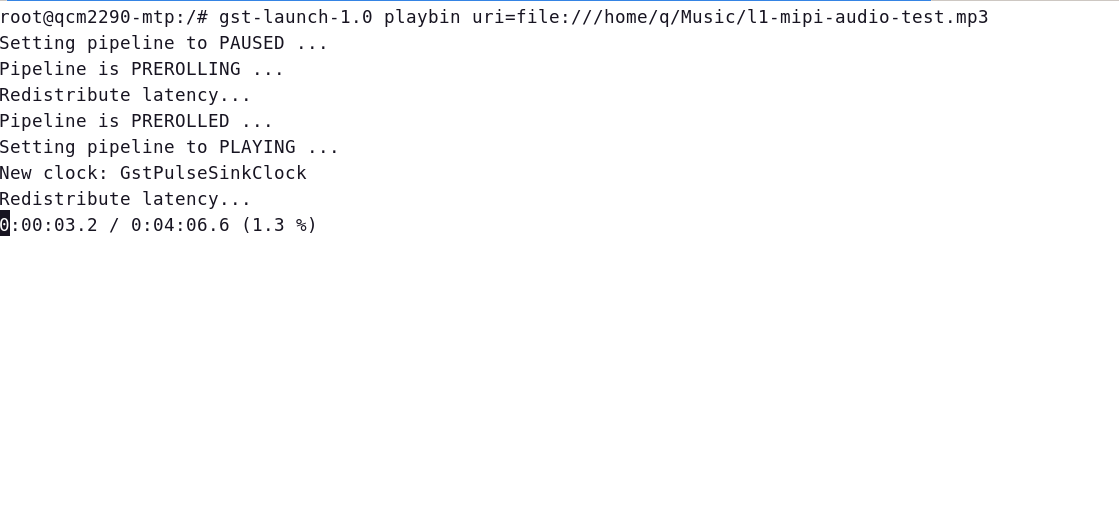
gst-launch-1.0 playbin uri=file:///home/q/Music/l1-Micro HDMI-audio-test.mp3
Below is a screenshot of playing audio via the GStreamer command line.
Advanced Features
Micro HDMI Screen Hot-Plugging
Micro HDMI supports hot-plugging. When you plug in an Micro HDMI display while the system is running, the system will usually automatically detect the monitor and output the display.
How to use hot-plugging:
While the system is running, connect the Micro HDMI display to the development board’s Micro HDMI port.
Wait for the system to automatically detect the display device.
If the display does not appear automatically: On the M1, go to Settings > Displays to check whether the monitor is recognized; on the L1, check
/sys/class/drm/card0-Micro HDMI-A-1/statusto see whether the monitor is recognized.To disconnect the Micro HDMI display, simply unplug the Micro HDMI cable.
Command-Line Status Check
Common troubleshooting commands are as follows:
# Check Micro HDMI connection status and supported display modes
cat /sys/class/drm/card0-Micro HDMI-A-1/status
cat /sys/class/drm/card0-Micro HDMI-A-1/modes

# View display-related information in system logs
journalctl -b | grep -Ei 'Micro HDMI|drm|display|edid'

# Check the default audio output device
pactl info
Application Scenarios
Media entertainment terminal: Play video, music, or display images via an Micro HDMI display.
Industrial data visualization platform: Used to display device status, sensor data, dashboards, and alarm information.
Smart interactive terminal: Paired with a touch Micro HDMI screen to implement local menus, control panels, and human-machine interaction interfaces.
Development and debugging display terminal: After connecting to a common Micro HDMI monitor, you can directly view the Debian desktop and debugging information.
Troubleshooting
Symptom |
Possible Cause |
Solution |
|---|---|---|
Black screen after power-on |
The monitor is not powered on, the input source is incorrectly selected, the Micro HDMI cable is not fully inserted, or the system has not finished booting |
Check the monitor’s power and input source; re-plug the Micro HDMI cable; check via serial console or ADB whether the system has booted normally. |
No display after hot-plugging |
The system did not recognize the Micro HDMI device in time, or the monitor EDID was read abnormally |
Wait a few seconds and check the connection status: On the M1, go to Settings > Displays to check the monitor; on the L1, run |
Abnormal resolution |
Abnormal monitor EDID recognition, poor cable quality, or the current monitor does not support the mode negotiated by the system |
Replace the Micro HDMI cable or monitor; on the M1, go to Settings > Displays to manually select an available resolution; on the L1, run |
Screen artifacts or flickering |
Poor Micro HDMI cable quality, poor connector contact, or interference |
Replace with a better-quality Micro HDMI cable; ensure the connector is firmly inserted; avoid running the cable near strong sources of interference. |
Touch not responding |
The USB touch cable is not connected, connected to the wrong port, or the system did not recognize the input device |
Check the USB touch cable connection; run |
Video cannot be played |
The video codec is not supported by the current player, or the file path is incorrect |
Confirm that the video file exists under |
Video has picture but no sound |
The audio output device is incorrectly selected, the volume is muted, or the monitor does not support the current audio output |
For the M1, check the sound settings in the top-right corner, go to Settings > Sound to switch the output device; run |